
With the growing popularity of the Huawei Nexus 6P, it’s no surprise that some of the new users aren’t the biggest fan of the latest Operating System from Android. Here, we will cover how to roll back the upgrades from Android 6 Marshmallow or the beta of Android N to KitKat or Jellybean.
Backup Your 6P Before Altering the Operating System
As you should always do when altering anything in regards to software on your 6P, it is well advised to perform a quick backup of your device. To do so, you could in theory separately back up all of your files by category (contacts, pictures, and assorted files) and have them available for restoration if needed. Or alternatively, you could use a third-party program like Helium to perform a more comprehensive back up for your 6P. To do this, just follow these simple steps:
Step One: Go onto the Google Play store and download the Helium app. Next, just open the app and let it rest for a moment.
Step Two: While letting your phone rest, go ahead and install Helium onto your PC as well. Be sure that your phone isn’t connected to your computer quite yet.
Step Three: Connect your phone to your PC with both programs remaining open. Selecting the Restore and Synch screen on your phone, you should be presented with onscreen instructions on the PC. Follow these and the backup will be completed..
With that out of the way, let’s go about the task of returning your 6P to a more preferred Android operating system.
How to Change the Android Distribution on your Nexus 6P
Despite what you may have heard, downgrading the Nexus 6P is not difficult, though some may find it a bit tedious. Following these steps will lead to you the promised land of stable performance and battery life.
Our first mission is to unlock the 6P’s Bootloader, so we can install Android at our leisure, and the version we prefer.
Step One: Perform the backup as described above or through your own method.
Step Two: Download any Nexus drivers you may need (usually this is done when plugging the phone into the
computer for the first time), and download ADB tools onto your PC by clicking here.
Step Three: Next, we need to enable USB Debugging on your phone. To do this, go to Settings, and tap Build Number until such time that it notifies you that you have developer options enabled. Go back to the previous menu and turn USB Debugging on.
Step Four: Now turn your attention to your PC. Make note of where you saved your ADB Tools program to, and open the command prompt. Type in the location of the files ( It should look like cd
C:\Users\Smith\downloads\adb-tools_driver\adb-tools ).
Step Five: Next, turn off your phone and plug it into the PC. Then in the command prompt, type in the following without the quotation marks: “ fastboot oem unlock”. Take a look at your Nexus’s screen, as it should be asking if you’d like to unlock to bootloader. Using the volume button, highlight yes, and press the power button the confirm.
Step Six: Lastly, enter the following command without quotation marks: “fastboot reboot”. This will cause your phone to restart, and as a result your 6P will have an unlocked bootloader.
Now, we can get a factory image to install onto the Nexus 6P, and have the Operating System properly replaced.

Step One: Download a factory image here (note: custom ROMS which combine positive qualities of many OS’s can also be downloaded from XDA forums) and move it into the ADB tools folder by unpacking the .zip file.
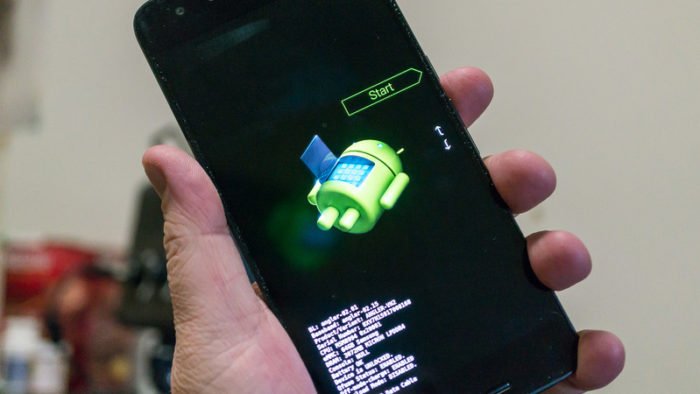
Step Two: After ensuring your phone is turned off, press and hold the power and volume down button to enter Fastboot mode. There should be an image of your Android buddy on his back. At this image, quickly press the power and volume up buttons to get into recovery.
Step Three: There should be an option to Wipe Cache Partition and Wipe Date/Factory Reset, hit power to activate both in that order, and wait for each to complete their tasks.
Step Four: Connect your phone to your PC via USB.
Step Five: Open ADB tool folder, and double click the flash-all.bat file. After a few moments, your phone will have a new Operating System on it. Finally, use your restore method to get back all your contacts, files, and app data.
Now, you will with any luck have a Nexus 6P which will be much more in line with your preferences and tastes. If you decide however that you’d prefer to give Android Marshmallow a try again (or Android N) you can always use the Over the Air updates, or download a factory image that carries Marshmallow on it from the official site linked above, using the same method.
[Source:- Gazete Review]