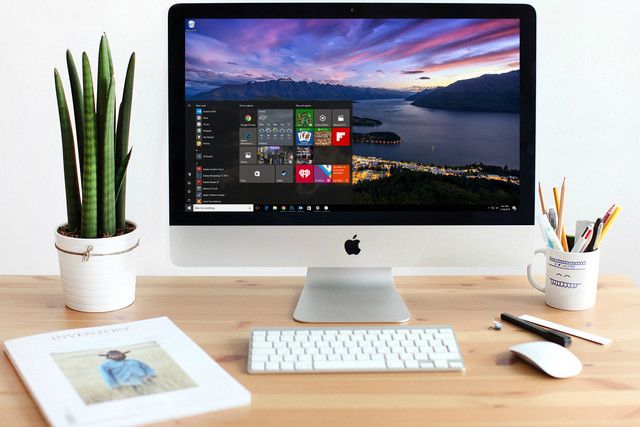
Sometimes, you just need Windows. It’s not something that Apple would like to admit, and for the most part MacOS has done an admirable job of keeping up with its less stylish and more utilitarian cousin, but sometimes you just need access to a Windows system. Thankfully, as Apple used to say, “there’s an app for that.”
More: Is one operating system not enough? Here’s the five best virtual machine applications
Apple’s custom-tailored solution is called Boot Camp, and it’s the easiest way to get Windows on your Mac without resorting to dark rituals and eldritch sorcery. For the purposes of this guide, that’s the method we’re going to use. So whether you’re looking to breathe some new life into an old Mac Mini or do a little (light) gaming on your shiny new MacBook Pro, read on, we’ll have you up and running in no time.
Prepping your installation
Step 1: Confirm your Mac’s requirements
Before getting started, make sure your Mac has the available disk space and hardware necessary to handle the Windows install via Boot Camp.
First, the install requires an Intel-based Mac computer and an empty USB thumb drive capable of holding up to 16GB of data. The installation requires the thumb drive to install the Windows operating system, as well as all the appropriate drivers necessary for the Mac computer – support for things like the Touch Bar and the Apple Trackpad.
Last but certainly not least, the Mac you intend to use for the install needs to have at least 55GB of free disk space on the startup drive. This is for the partition where your Windows install will live and work and play. Keep in mind, your Windows install will not have access to your Mac partition, so be sure you have enough free space to allocate an appropriate chunk to the new Windows installation.
Note: Apple provides a handy system requirements list for various Mac models which details the version of Boot Camp your system requires to complete a Windows install.
Step 2: Buy a copy of Windows
After assuring your Mac is up to snuff, you’ll want to decide which version of Windows you wish to install. After the success of Windows 7, and mixed critical reception of Windows 8, your best bet is going to be Windows 10. Microsoft learned from the mistakes made with Windows 8. Rather than a touch-focused OS, Microsoft delivered a fully-featured operating system with a stylish and understated visual design which builds on user feedback gleaned from the Windows Insider program to deliver a really great user experience.
Windows 10 has quickly become the standard for Windows, with support for Windows 7, and Windows 8.1 trailing off in the next couple years, so it’s going to be the best choice for long-term use.
Luckily, acquiring Windows 10 has never been easier. Just head over to the Windows Store. You’ll have options here, first you can choose to purchase a digital copy, which you’ll need to download (and then download this tool to create a Windows 10 disk image), or you can purchase a Windows 10 flash drive which Microsoft will ship to you.
[Source:-Yahoo]


