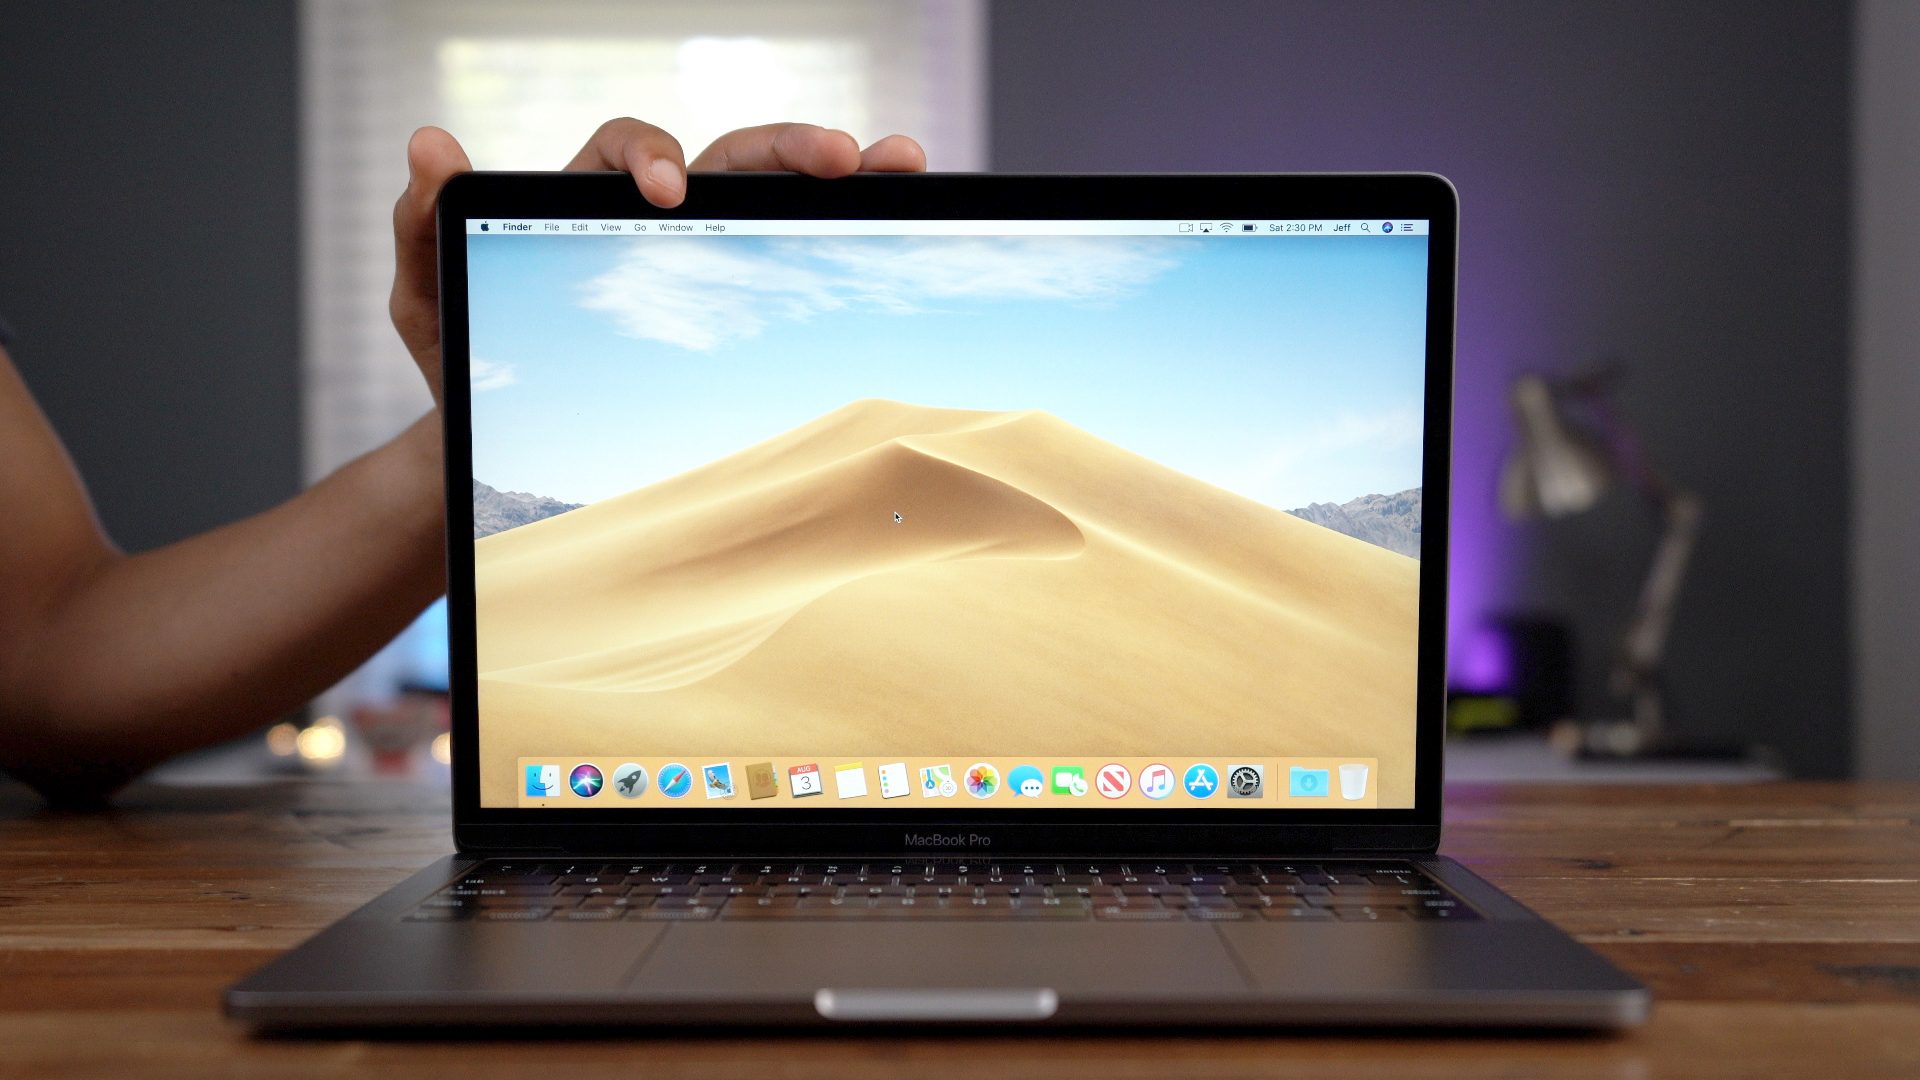

Every time I get a new computer, whether it be a desktop or laptop Mac, there are a few configuration changes that I aim to make each time. In this hands-on video walkthrough, I share with you 10+ getting-started tips for new macOS users and/or new macOS installs.
There’s nothing worse than a slow mouse or trackpad cursor, but unfortunately, that’s how the cursor comes configured with every new installation of macOS. To speed up cursor tracking, go to System Preferences → Mouse and adjust the Tracking Speed slider. You can do likewise for the trackpad by going to System Preferences → Trackpad.
If you prefer to wield a mouse instead of a trackpad, you’ll definitely want to use right click in order to work more efficiently. Unfortunately, right-click is still disabled by default in new macOS installs, but thankfully it’s easy to enable. To enable right-click on macOS, simply go to System Preferences → Mouse, and enable Secondary click under the Point & Click tab.
![10+ macOS tips for new Mac users [Video] Enabling right-click in macOS](https://9to5mac.com/wp-content/uploads/sites/6/2019/08/macOS-Tips-enable-right-click.jpg?quality=82&strip=all)
Alter Dock apps
It sounds simple enough, and perhaps obvious as well, but every time I configure a new installation of macOS, I remove many of the stock applications from the Dock, and add several of my own choices.
To remove an app from the dock, you can drag the application icon away from the dock and hold it there until you see a ‘Remove’ indicator appear. From there just release the icon and it will be removed from the Dock. Alternatively, you can right-click on the app in the Dock that you wish to remove and select Options and ensure the Keep in Dock setting is unchecked.
![10+ macOS tips for new Mac users [Video] Removing apps from the Dock on Mac](https://9to5mac.com/wp-content/uploads/sites/6/2019/08/macOS-Tips-enable-remove-apps-from-Dock.jpg?quality=82&strip=all)
To add an app permanently to the Dock, open the app so that it appears in the Dock, right-click on the app icon, and check the Keep in Dock Setting under the Options menu. Another method for keeping an app in the Dock is to rearrange its position in the Dock. Doing so implies to macOS that you wish to keep that app in the Dock.
Minimize app windows into Dock app icons
When you minimize an app in macOS, it will appear on the left side of the Dock between the trash and the rest of the Dock icons. Minimized applications are given a preview in the Dock so that you know what to expect when opening the app. The downside of such a setup is that it adds additional clutter to the Dock.
![]()
If you venture into System Preferences → Dock, you’ll find an option to Minimize windows into application icon. Selecting this option will force minimized app windows to occupy the original app icon in the Dock instead of creating a new preview at the end of the Dock. By enabling this setting, you lose the advantage of seeing previews of the app windows you have open, but gain a tidier Dock in the process.
Add volume controls to the menu bar
It’s easy to control system volume via keyboard shortcuts or the Touch Bar on the MacBook Pro, but adding volume controls to the menu bar comes with distinct advantages. With the menu bar volume shortcut, you can directly adjust the volume output device with just two clicks. And if you hold the Option key while clicking the volume button in the menu bar, you can adjust the input device as well.
To add volume controls to the menu bar, go to System Preferences → Sound, and check the box next to Show volume in menu bar.
![10+ macOS tips for new Mac users [Video] Volume controls in menu bar](https://9to5mac.com/wp-content/uploads/sites/6/2019/08/macOS-Tips-volume-menu-bar.jpg?quality=82&strip=all)
Disable screenshot floating thumbnail
Starting with macOS Mojave, screenshots that you take won’t immediately appear in the default desktop location. Instead, screenshots behave similarly to iOS, where a small floating thumbnail appears in the corner of your display to help you more readily take action on the screenshot.
![10+ macOS tips for new Mac users [Video] Disabling floating thumbnail for screenshots in Mojave](https://9to5mac.com/wp-content/uploads/sites/6/2019/08/macOS-Tips-disable-floating-thumbnail.jpg?quality=82&strip=all)
For my workflow, this actually wastes time, as I have to wait until the floating thumbnail times out before it lands on the desktop. Fortunately, it’s easy to disable such behavior. To do so, invoke the screenshot interface by using the following keyboard shortcut: Command + Shift + 5.
Once the overlay appears, click the Options button, and uncheck Show Floating Thumbnail. Now all of your screenshots will immediately appear in the default desktop location without delay.
Remove screenshot shadows
By default, screenshots of windows taken in macOS with the Command + Shift + 4 keyboard shortcut include shadows.
![10+ macOS tips for new Mac users [Video] Disabling screenshot shadows](https://9to5mac.com/wp-content/uploads/sites/6/2019/08/macOS-Tips-disable-screenshot-shadows.jpg?quality=82&strip=all)
Although these shadows look good in certain situations, I prefer to have a plain screenshot of windows without any additional effects. Thankfully, you can outright disable shadows via a simple Defaults Write command in the Terminal:
defaults write com.apple.screencapture disable-shadow -bool true
After you submit that command type the following to restart SystemUIServer and enact the changes
killall SystemUIServer
As one comment on our YouTube video points out, if you’d like to disable screenshot shadows on a screenshot-by-screenshot basis, simply add hold the Option key while taking the screenshot.
Enable Hot Corners
Hot Corners are by far one of my favorite items on this list, and I use them each and every day, multiple times a day. Hot Corners essentially allow you to execute keyboard shortcuts via simple mouse movement. Since there are four corners on a square monitor display, that allows for four potential shortcuts.
![10+ macOS tips for new Mac users [Video] Enable hot corner in macOS](https://9to5mac.com/wp-content/uploads/sites/6/2019/08/macOS-Tips-hot-corners.jpg?quality=82&strip=all)
To enable Hot Corners, go to System Preferences → Mission Control, and click the Hot Corners button in the bottom left-hand corner. From there it’s just a matter of assigning an action to each corner. Actions include the ability to quickly show the desktop, put your display to sleep, invoke Mission Control, and more.
I use the Show Desktop shortcut the most, it’s helped me be much more efficient when moving files from the desktop to other locations around macOS. If you don’t use any of the other macOS tips on this list, I highly suggest at least trying the Hot Corners features.
Enable tabbing between all controls
Tabbing between controls in macOS is severely gimped by default, only allowing you to navigate between text boxes and lists.
![10+ macOS tips for new Mac users [Video] Enable all controls for tabbing on Mac](https://9to5mac.com/wp-content/uploads/sites/6/2019/08/macOS-Tips-tab-all-controls.jpg?quality=82&strip=all)
To expand the ability to tab between all controls, go to System Preferences → Keyboard → Shortcuts, and click the All Controls radio button at the bottom of the window.
After enabling this setting, you’ll be able to easily toggle between all available controls in macOS by pressing Tab on your keyboard.
Customize Finder sidebar
I like to customize the Finder sidebar in order to enable items like the Movies, Music, Pictures, and the User folder. I also like to disable the Tags sidebar section and remove items like Remote Disc. Finder sidebar customization is largely subjective, but be sure to watch our hands-on video for a look at my desired setup.
![10+ macOS tips for new Mac users [Video] Customize Finder sidebar](https://9to5mac.com/wp-content/uploads/sites/6/2019/08/macOS-Tips-customize-Finder-sidebar.jpg?quality=82&strip=all)
Enable Stacks
Stacks, which first appeared in macOS Mojave, allow you to quickly organize your macOS Desktop with just a few mouse clicks. Stacks group like files within the same collapsable stack that can be quickly expanded via a single click. To enable Stacks, right-click on the Desktop and click Use Stacks.
![10+ macOS tips for new Mac users [Video] Enable Stacks on macOS Mojave](https://9to5mac.com/wp-content/uploads/sites/6/2019/08/macOS-Tips-enable-Stacks.jpg?quality=82&strip=all)
9to5Mac’s Take
Of course, there are many additional macOS tips that I find to be handy for my day-to-day workflow, but this list of tips will help new Mac users get started on the right foot. Even if you don’t adopt all of these macOS tips in your personal setup, you’ll likely come away with at least a couple that you find to be helpful.
[“source=9to5mac”]


