
Apple computers are great, but they’re often very expensive. So what’s the solution if you want a super-powerful Mac computer without paying that high price tag? Build your own, of course!
Do-it-yourself Mac computers are called ‘Hackintosh’ computers by the people who build them. And you can absolutely build your own.
Jesse Guardiani from the create this YouTube channel has a pretty good walkthrough on how to make your own Hackintosh with a clear and useful step-by-step guide.
The parts Jesse used for his Hackintosh aren’t necessarily the latest models or the most powerful, but the beauty of building your own Hackintosh is that you can pick the parts you want depending on how powerful you want it to be and your budget.
Just make sure that the parts are compatible with Apple’s OS X operating system. Your best bet is to pick parts from previous (and recent) Hackintosh builds, which you can find all over the internet. One good place to find recent Hackintosh builds is the website tonymacx86.com.
Some of these steps and concepts might seem a bit foreign, especially if you’re unfamiliar with the ins-and-outs of computer technology, but we encourage you give it a shot if you’re in need of a new Mac. It might seem a bit complex, but it’s a rewarding activity and the end result is a super powerful computer that’s cheaper than a normal Mac, and one you can say you built yourself!
For his Mac Pro Hackintosh, Jesse used these parts bought from Amazon. He looks pretty stoked!
 createthis/YouTube
Here’s the list of parts Jesse used:
- Case: Corsair Vengeance Series Black C70 Mid Tower Computer Case (CC-9011016-WW): http://amzn.to/1Tix0gT
- Motherboard: Gigabyte GA-Z97-HD3 LGA 1150 Z97 HDMI 2-Way CrossFire ATX: http://amzn.to/1NMBicO
- CPU: Intel Core BX80646I74790K i7-4790K Processor (8M Cache, up to 4.40 GHz): http://amzn.to/1NMB4SU
- RAM: Crucial Ballistix Sport 16GB Kit (8GBx2) DDR3 1600 MT/s (PC3-12800): http://amzn.to/1Tix4gS
- SSD: Samsung 850 EVO 120GB 2.5-Inch SATA III Internal SSD (MZ-75E120B/AM): http://amzn.to/1NMAGDY
- Hard drive: Seagate 3TB Desktop HDD SATA 6Gb/s 64MB Cache 3.5-Inch Internal Bare Drive (ST3000DM001): http://amzn.to/1klmXeP
- Power supply: Corsair RM Series 650 Watt ATX/EPS 80PLUS Gold-Certified Power Supply – CP-9020054-NA RM650: http://amzn.to/1NMBadd
- Graphics card: EVGA GeForce GT 740 Superclocked Single Slot 2GB DDR3 Graphics Cards 02G-P4-2742-KR: http://amzn.to/1Tiy9oX (Jesse recommends you use the GTX 970, which you can find here).
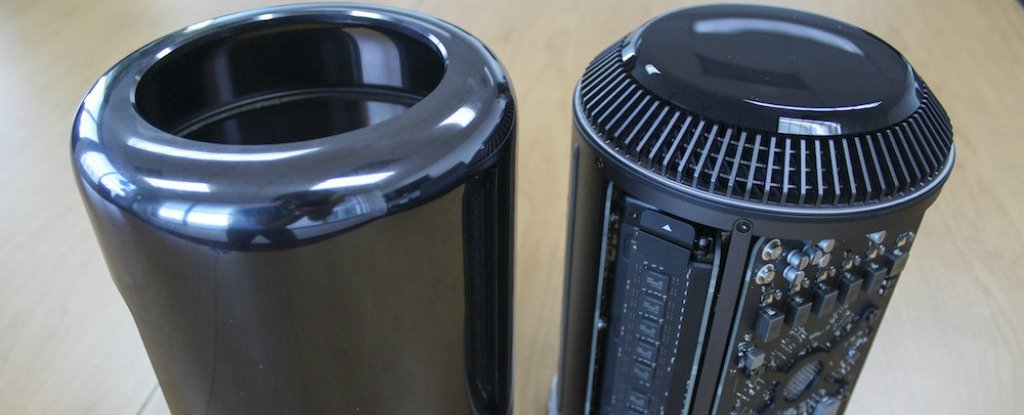
One of the best parts of building your own Mac computer is that you can pick pretty much whatever case you want.
 createthis/YouTube
To add all the parts, you just pop open the case’s side panel. This is where all those parts will fit.
 createthis/YouTube
As with most computer builds, the motherboard goes in first.
Then comes the processor (CPU), which is installed right into its designated slot on the motherboard.
Then you add the CPU cooler to keep it cool, because that thing can get HOT.
 createthis/YouTube
Next up, the RAM, which Jesse installed into its slots on the right of the CPU.
And now the power supply goes in.
After plugging in some cables into the motherboard, Jesse installs the SSD drive for storage. The storage is where OS X and any apps/documents/pictures/videos will be stored.
 createthis/YouTube
Then, Jesse installed the graphics card, which will give the Hackintosh more muscle to deliver beautiful graphics to your screen.
This particular card isn’t great, but you can add your own, more powerful graphics card if you want. Just make sure it’s compatible with OS X by searching online.
 createthis/YouTube
While Mac computers come with WiFi built in, you’re going to need to add your own WiFi card. You could also buy a USB WiFi adapter dongle if you’d prefer.
 createthis/YouTube
And that’s it for the hardware part! Now onto installing OS X!
To install the Mac OS X El Capitan operating system on your Hackintosh, you’ll need a Mac computer and some sort of external hard drive with 16GB of storage, like a USB stick.
 createthis/YouTube
If you don’t have Mac computer, maybe you can borrow one from a friend for a couple hours.
On the Mac, go to the website tonymacx86.com and click “Installation Guide.”
 createthis/YouTube
Then, as Jesse suggests, follow the guide step-by-step as long as your computer parts are compatible with macOS. You can see all the steps in his video, which you can find at the end of this story.
 createthis/YouTube
After following all the instructions, you should eventually get to the OS X setup screen on your Hackintosh!
 createthis/YouTube
If it doesn’t work, check back on the website tonymacx86.com for troubleshooting tips.
During the OS X setup process, you’re going to want to disable sending diagnostic information to Apple because, as Jesse puts it, “this is a hackintosh,” and Apple might not play nice.
 createthis/YouTube
And you have OS X on your own Hackintosh! But you’re not done yet…

Keep following the step on tonymacx86.com to install the drivers for various parts and functions, like audio and the WiFi card.

And after your finished following the steps, you should be all set with your Hackintosh!
Make sure to check out Jesse’s videos to see exactly what he did in detail, it’ll help you along the way. Here’s the installation guide for the computer parts:
And this is for installing the Mac OS X operating system onto the Hackintosh:
[Source:-Alart]


